When adding a New Document to SharePoint, there are a few different ways this can be done: Starting in the Browser, Starting in Word, or Uploading an Existing document. The two ways to add a new document have been described below. The instructions for uploading an existing document are in the next section:
Starting in the Browser
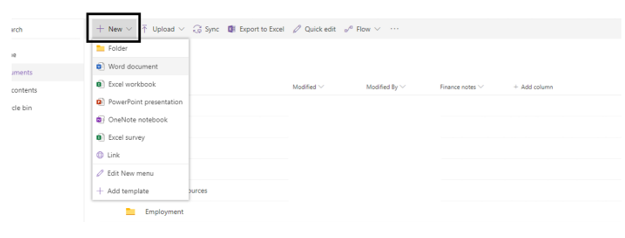
Navigate to the folder or area you would like to add a new document in the Browser. From the top-level Menu, select File > New and choose the type of document you would like to add: Word, PowerPoint, Excel, etc. You can also add new folders from this menu as well.
Once you have created the document, you can rename it by selecting Rename from the menu, or you can click into the name of the document in Word Online to change the name. From there, you can work within the document, invite others to collaborate, etc. while SharePoint will be saving all your changes and versions in the background. By starting in SharePoint and navigating to where you’d like the document stored, it is automatically saved to this location in SharePoint.
Starting in an Installed Office Application
 If you have already started a New document in Word (or other office program) and want to save that document to SharePoint, follow the steps below:
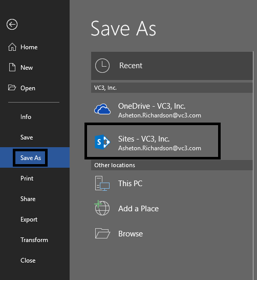
Select File > Save As
Locate the Sites option under your organization name, it will look something like this (VC3 used as an example). If you do not see this option, review how to Sign in to an installed application in the Signing into SharePoint section.
Locate the appropriate SharePoint site from the list of options (if you are following your site it will be under following), choose the correct folder/location, name the file, and hit Save.
From here you can continue working within the document and all changes will be saving to SharePoint as you go.